Signing Forms with SIGNiX
If your organization uses SIGNiX you can follow these steps to electronically sign forms which have been configured by your administrator for use with this service.
To use SIGNiX you must first enter your account credentials.
To sign a signature field using SIGNiX follow these steps:
- Click the signature field to show the following dialog:

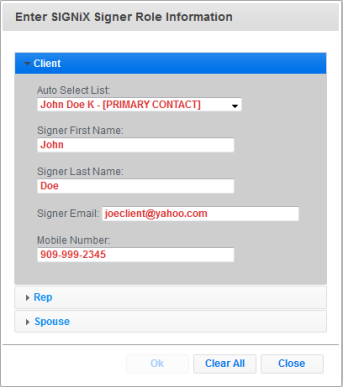
Enter the following fields:
Auto Select List - toggle this box to quickly select from the primary contact and any assigned beneficiaries or related individuals.
Signer First Name - the first name of the legal signer.
Signer Last Name - the last name of the legal signer.
Signer SSN - the Social Security # of the legal signer.
Signer DOB - the Social Security # of the legal signer.
Signer Email - the Email address the legal signer will be notified at.
- Click the Ok button and repeat for all signing areas of the form.
- At the top of the window click the button to post the document to SIGNiX. The text for this button is controlled by your account administrator, but it will always be located to the right of the Print Preview button.
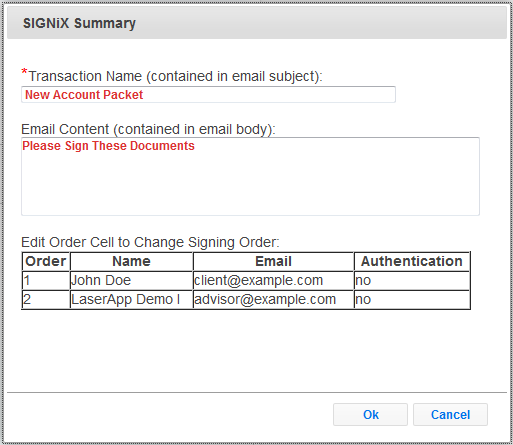
- Review the SiGNiX summary
- Complete the Transaction Name and Email Content unless it has been predefined by your Firm:
- Review the Signing Order and the Name and Email of the Signers
- Press OK when complete
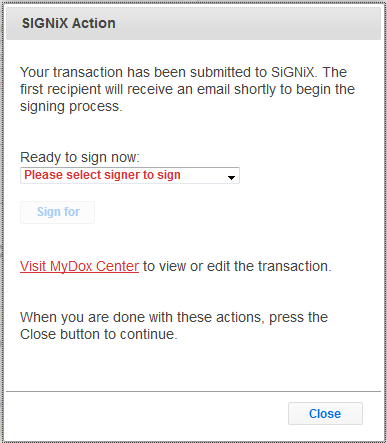
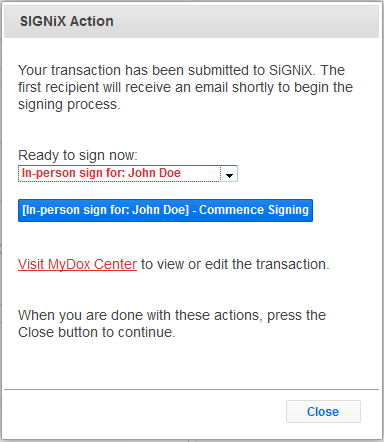
- If the submit was successful you will see a SIGNiX status dialog. At this point, your transaction has been submitted to SiGNiX, you can Close this dialog unless you wish to use In-person Signing or Visit the MyDoX Center.
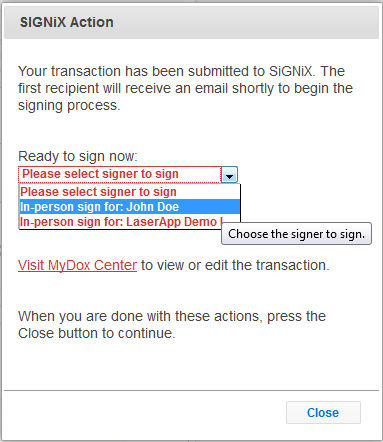
- To sign In-person, select the signer from the list and press the Commence Signing button as shown below:
- If an error occurs it will likely be due to invalid credentials.
- Email messages will be sent to each signer in the order they were specified on the form. When all signers have completed the "ceremony" the signed document can be downloaded from SIGNiX via a link sent to the submitter and signer email addresses.